General Rundown of OB365 Dashboard Functions
“I received an Onboarding Error. How can I check to see if the packet was sent?”
There are times that the communication between OB365 and Bullhorn breaks down or you need to check the specific details of an onboarding packet and can’t get to it from the OB365 tab of a candidate record. The OB365 Dashboard is a very useful tool in this and other situations. Here’s how to get to it!
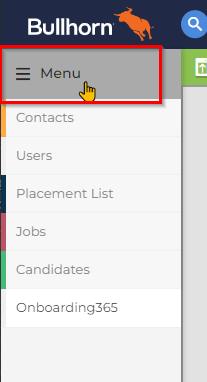
From your Bullhorn Menu:
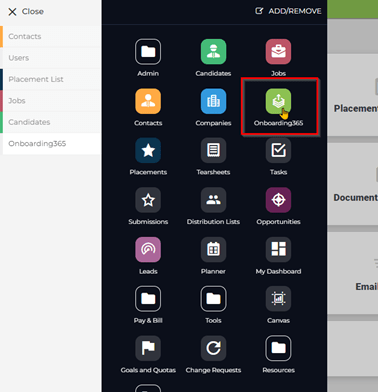
Then just click on the OB365 Button here!
The area inside of the OB365 Dashboard that you will likely use to troubleshoot problems is “Candidate Onboarding”
Once you are in the Candidate Onboarding section. You can click on the options button in the right-hand corner to search for a specific onboarding packet.
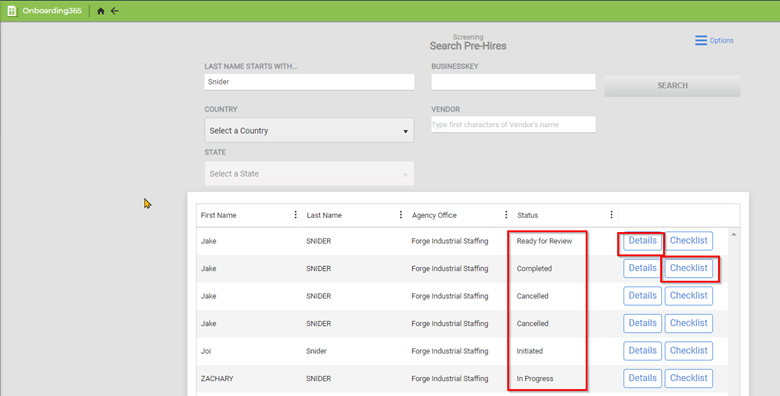
After searching for your specific candidate by their last name, you’ll be presented with each of the document packets they have been sent. Don’t worry too much about duplicates in this list, as these are not profiles, but “packets” of documents. I think of them as big manilla envelopes full of forms… Mailing more than one doesn’t cause too much trouble.
You can see from the picture above that onboarding packets are categorized by “Status”. There will be times when you try to onboard someone, and you get an error that will indicate the packet was not sent. Usually in these cases, you can come into the OB365 dashboard and confirm that the packet was indeed sent.
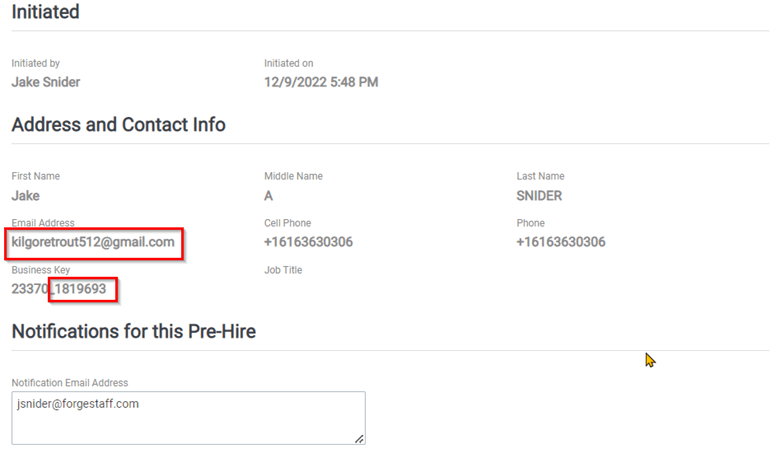
If you want to learn more about where the onboarding packet was sent, or what Bullhorn account it is tied to. You can look at the “Details” page.
The Email address that the packet was sent to will be listed here, and the second part of the “Business Key” should match the Bullhorn ID# of the candidate you are onboarding.
The button next to “Details” is the “Checklist”. If you are trying to certify an I-9 or want to check on the progress of an Onboarding Packet, this is the place you want to be.
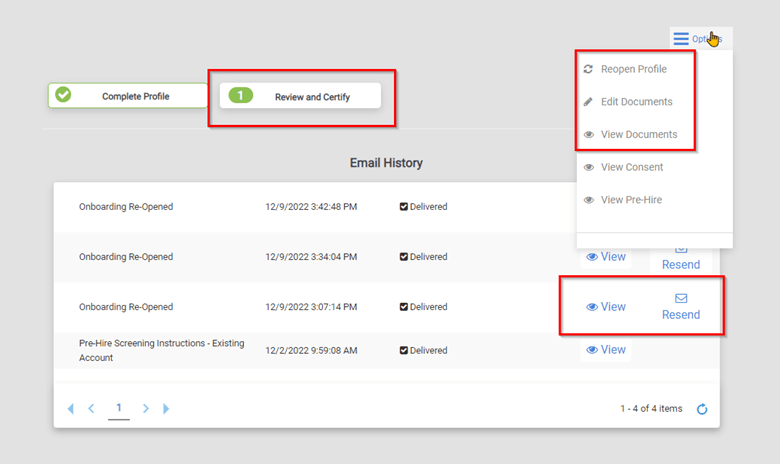
Inside the Checklist, you will be able to review and certify documents for a packet that is in the “Ready for Review” status.
You can also see the history of emails related to this packet, view them, and resend them if necessary.
The “Options” button on this page lets you re-open a profile that was cancelled in error (keep in mind this will send it to the same email address that is was created for, and is not a solution for an onboarding sent to the wrong address).
It also lets you Edit/View documents in the packet.
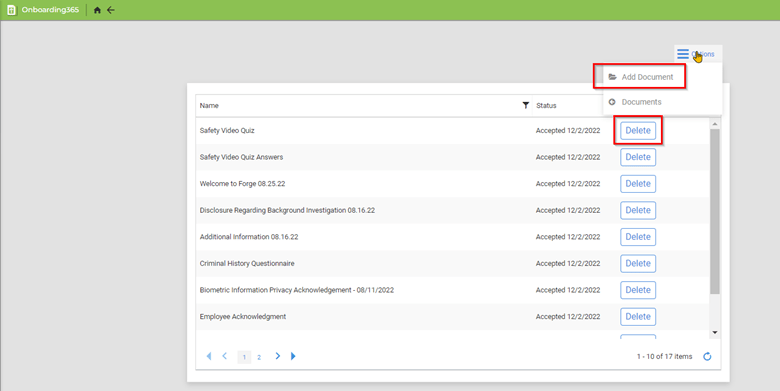
When you click on “Edit” you will be brought to a screen that looks like this:
You can see each document in the packet here. You can also delete a particular document or add a new copy of a document from this area. KEEP IN MIND: Because I-9s are auto filled with information from the initial application, deleting an I-9 and then re-adding it will not help you to correct an inaccurate I-9.
If you click on “View Documents” instead, you will be presented with the screen here:
You will be able to see the status of each document and whether or not it is ready for certification. The blue “Start” button will start the process of certification.

